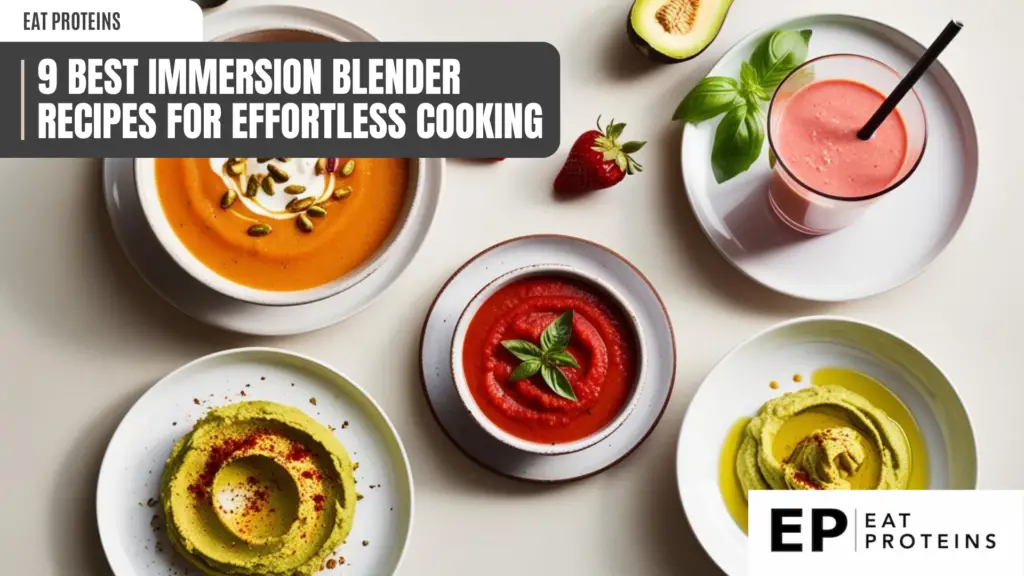
When it comes to blending, an immersion blender is a versatile tool that can make cooking easier and more enjoyable. I have found many ways to use this handy kitchen device, and it truly shines in creating a variety of delicious recipes. In this article, I’ll share the 9 best immersion blender recipes to help you make the most of this appliance.
From soups to smoothies, an immersion blender can transform ingredients into tasty meals and drinks in no time. These recipes not only save effort but also add flavor and texture to your dishes. As I explore these options, you’ll discover how this tool can enhance your cooking experience.
1. Creamy Butternut Squash Soup
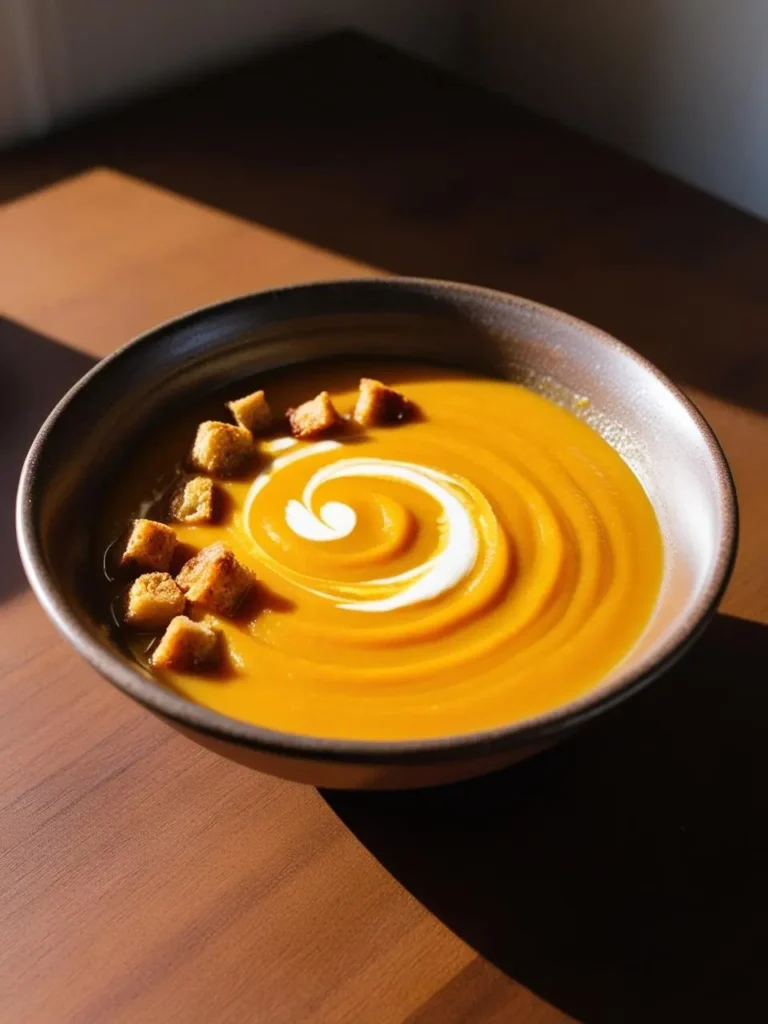
Creamy butternut squash soup is a smooth and warm dish made from roasted butternut squash. It has a slightly sweet flavor and is perfect for chilly days.
I find this recipe easy to make. The soup uses simple ingredients like squash, onion, garlic, broth, and cream. It takes about 30 minutes of prep time and 30 minutes of cooking time.
Here are the steps I follow:
- Preheat the oven to 400°F (200°C).
- Cut one butternut squash in half, scoop out the seeds, and place it cut side down on a baking sheet. Roast for 25-30 minutes until tender.
- In a pot, heat a tablespoon of olive oil and sauté one chopped onion and two minced garlic cloves until soft.
- Scoop the roasted squash flesh into the pot. Add 4 cups of vegetable broth and bring to a simmer.
- Blend the mixture with an immersion blender until smooth. Stir in half a cup of cream and season with salt and pepper.
This soup is delicious and can be served warm, often topped with a drizzle of cream or some croutons.
2. Classic Tomato Basil Soup
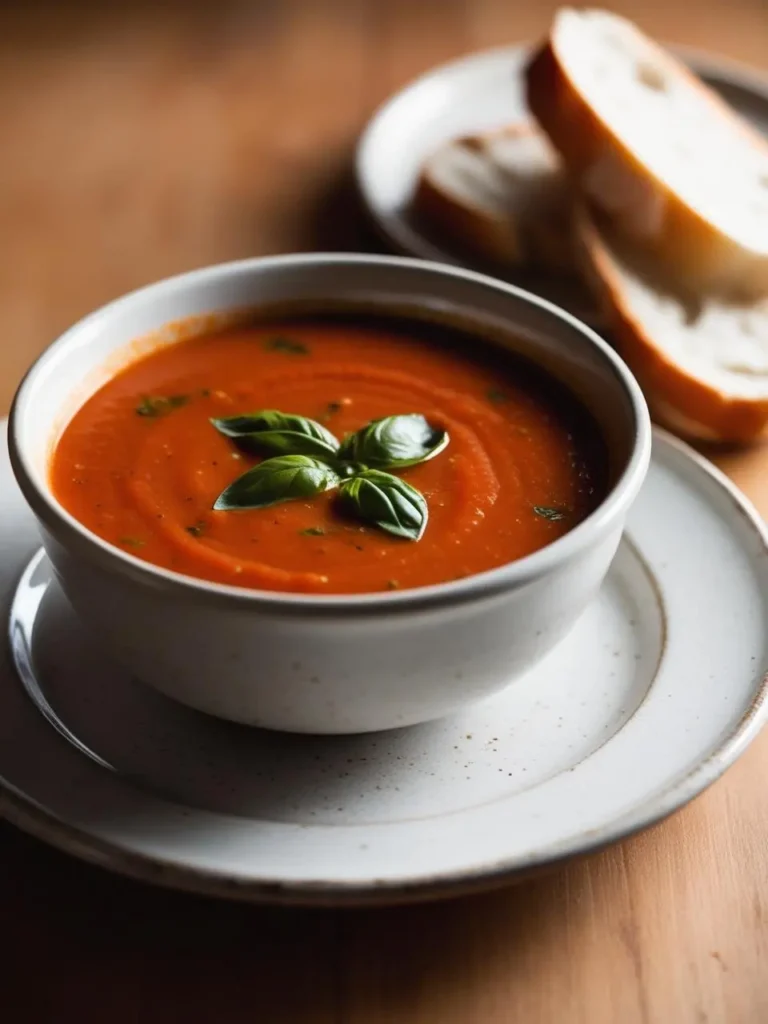
Classic tomato basil soup is a comforting dish that combines ripe tomatoes and fresh basil. It has a smooth texture and rich flavor, making it a favorite for many.
This recipe is easy to make and requires just a few ingredients. I love how quickly it comes together, especially using an immersion blender for a creamy finish.
Here’s a simple way to prepare it:
- Gather Ingredients: You’ll need 2 pounds of fresh tomatoes, 1 onion, 2 cloves of garlic, 1 cup of fresh basil, 4 cups of vegetable or chicken broth, and salt and pepper.
- Prepare: Start by chopping the onion and garlic. Then, score the tomatoes with an “X” and blanch them in boiling water for a minute. Peel and chop the tomatoes after cooling.
- Cook: In a large pot, heat some olive oil and sauté the onion and garlic until soft. Add the tomatoes, broth, salt, and pepper. Let it simmer for about 20 minutes.
- Blend: Remove the pot from heat and add the fresh basil. Use an immersion blender to purée the soup until smooth.
- Serve: Taste and adjust seasoning as needed. Enjoy your classic tomato basil soup warm, perhaps with a slice of crusty bread.
3. Frozen Strawberry Smoothie
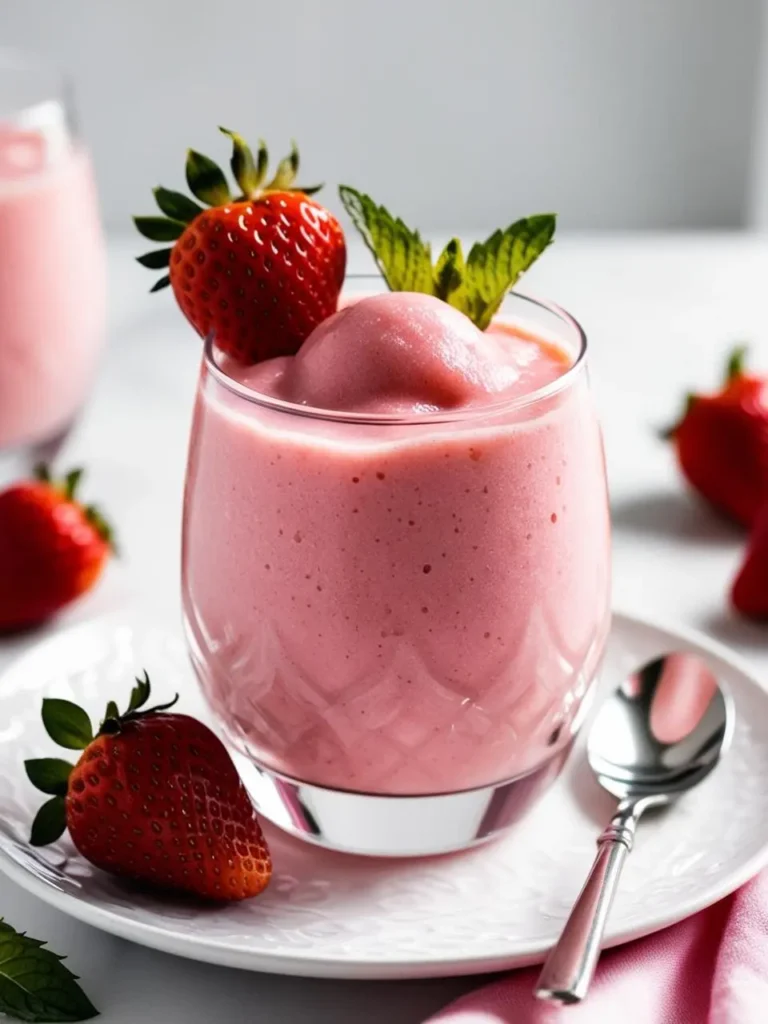
A Frozen Strawberry Smoothie is a delicious and healthy drink made from fresh or frozen strawberries, yogurt, and a liquid base. It’s refreshing and nutritious, perfect for any time of day.
Making this smoothie is simple and quick. I usually blend it in under 5 minutes.
Here are the steps I follow:
- Gather your ingredients: 1 cup of frozen strawberries, ½ cup of yogurt, and ½ cup of juice or milk.
- Place the frozen strawberries in my immersion blender cup.
- Add the yogurt and juice or milk to the cup.
- Blend until smooth and creamy.
If the smoothie is too thick, I add a splash more liquid. Enjoying it right away gives the best flavor and texture. This recipe is easy to customize. Sometimes, I add a banana or a scoop of protein powder for extra nutrients.
Frozen Strawberry Smoothies are a great way to satisfy cravings while getting vitamins and minerals.
4. Avocado Hummus
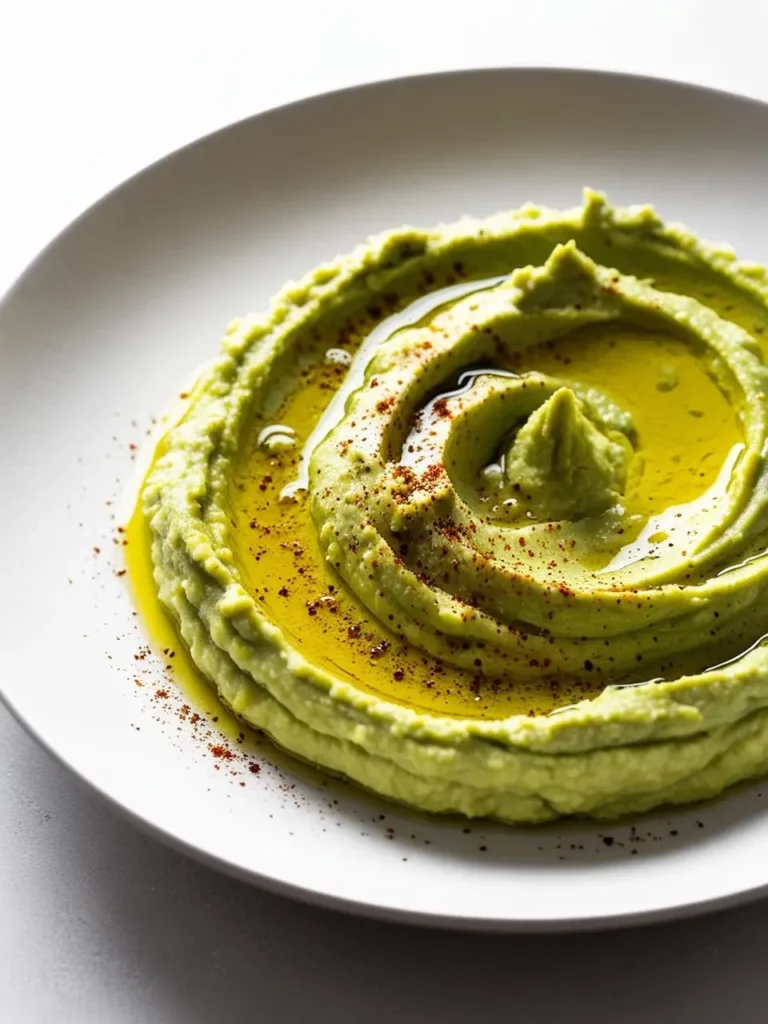
Avocado hummus is a creamy and delicious twist on traditional hummus. It combines the rich flavor of avocados with the classic chickpea base. This dish is healthy and packed with nutrients.
I find avocado hummus very easy to make. You can prepare it in just a few simple steps. Here’s how:
- Gather your ingredients: 1 ripe avocado, 1 can of chickpeas (drained and rinsed), 2 tablespoons of tahini, 2 tablespoons of lemon juice, and garlic (to taste).
- Place all the ingredients into a bowl or a food processor.
- Use an immersion blender to mix everything until smooth. If you prefer a thinner consistency, you can add a little water.
- Taste and adjust the seasoning as needed, adding salt or more lemon juice if desired.
This recipe takes only about 10 minutes from start to finish. It’s perfect as a dip for vegetables or spread on sandwiches. I love serving it at gatherings, and it’s always a hit.
5. Cauliflower Purée
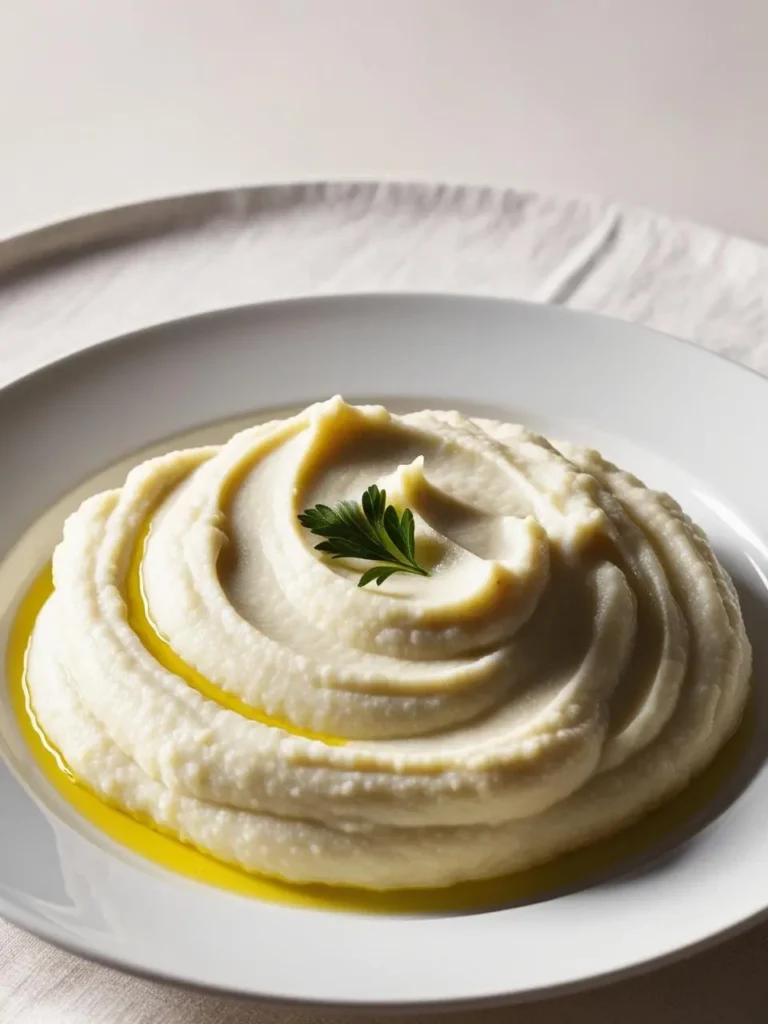
Cauliflower purée is a smooth, creamy dish made by blending cooked cauliflower. It serves as a versatile base or side for many meals. This recipe is healthy and simple to prepare.
To make cauliflower purée, I start by gathering my ingredients: one head of cauliflower, salt, pepper, and a bit of olive oil.
- First, I wash and cut the cauliflower into florets.
- Next, I steam or boil the florets until they are tender, usually about 8 to 10 minutes.
- Once cooked, I drain the cauliflower and let it cool slightly.
- Then, I add the cauliflower to my immersion blender along with salt, pepper, and olive oil to taste.
- I blend until the mixture is smooth and creamy.
This dish is quick to make and perfect for a comforting meal. It pairs well with roasted meats or can be enjoyed on its own. Cauliflower purée is not just easy; it’s packed with flavor and nutrition.
6. Pumpkin Spice Whipped Cream
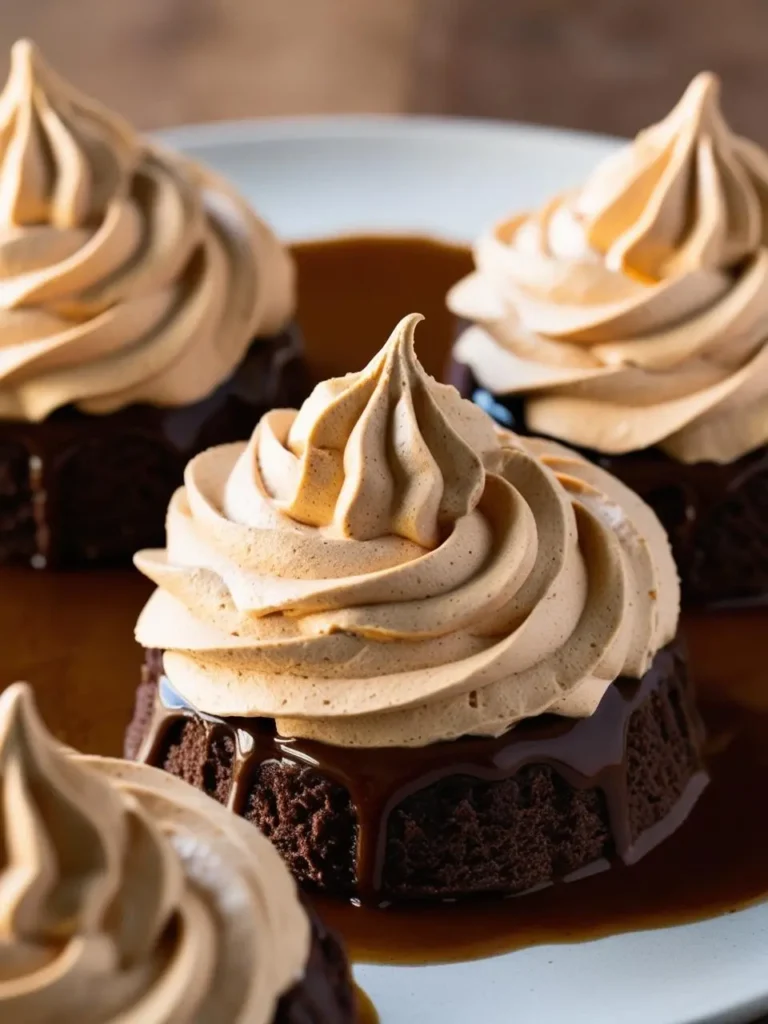
Pumpkin Spice Whipped Cream is a delightful topping that adds flavor to desserts and drinks. It combines the rich taste of whipped cream with pumpkin spice for a seasonal twist.
Making this whipped cream is quite easy. I use an immersion blender for quick results.
Here are the steps I follow:
- In a mixing bowl, I start with 1 cup of heavy cream.
- I add 1 tablespoon of powdered sugar and 1 teaspoon of pumpkin pie spice.
- Using my immersion blender, I blend until soft peaks form, usually within 2 to 3 minutes.
- I make sure not to overbeat it, as I want a fluffy texture.
This whipped cream is perfect for topping pies, lattes, or even pancakes. It gives a comforting, seasonal flavor to any dish. Plus, it can be stored in the fridge for a few hours before serving.
7. Broccoli Cheddar Soup
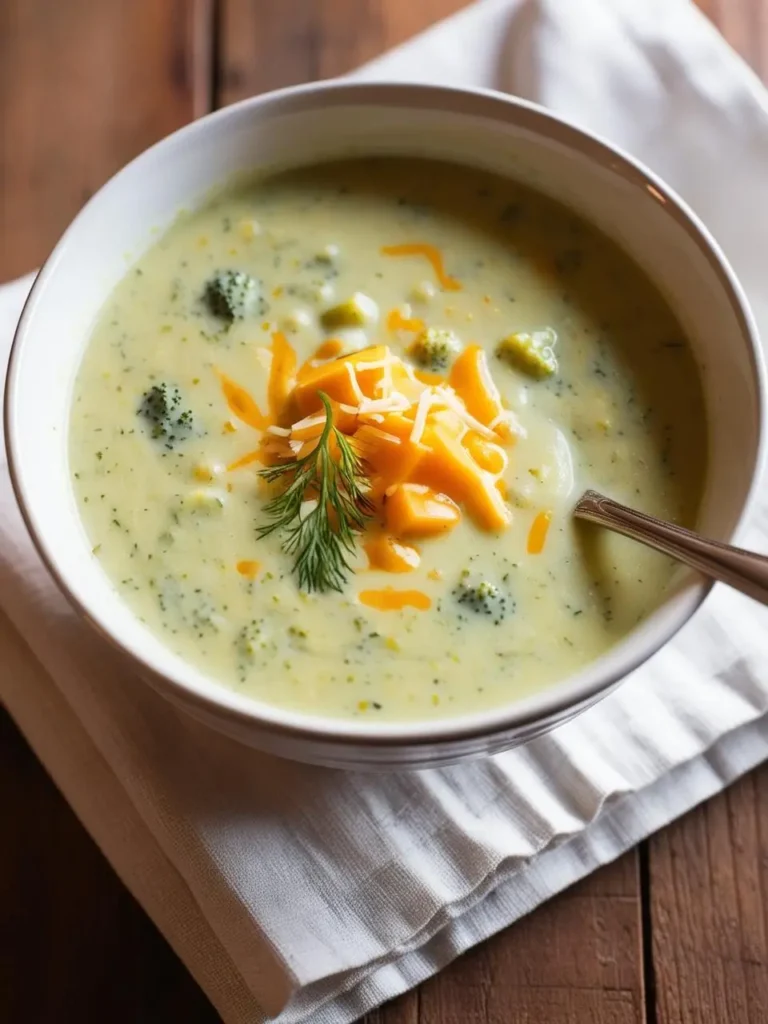
Broccoli Cheddar Soup is a creamy dish made with fresh broccoli and melted cheddar cheese. It’s a comforting choice, especially on cold days. The immersion blender makes it easy to achieve a smooth texture.
I find this recipe simple and quick to prepare. Here are the steps I usually follow:
- Ingredients: Gather 4 cups of chopped broccoli, 1 onion, 2 cups of vegetable broth, 2 cups of shredded cheddar cheese, and 1 cup of heavy cream.
- Saute: In a pot, sauté the chopped onion in a little oil until it becomes soft.
- Cook: Add the broccoli and vegetable broth. Let it simmer for about 15 minutes until the broccoli is tender.
- Blend: Using my immersion blender, I blend the mixture until it’s smooth.
- Add Cheese and Cream: Stir in the shredded cheddar and heavy cream. Cook for another 5 minutes until the cheese is melted.
This soup is not only tasty but also filling. It pairs well with crusty bread for a satisfying meal.
8. Peanut Butter Banana Shake
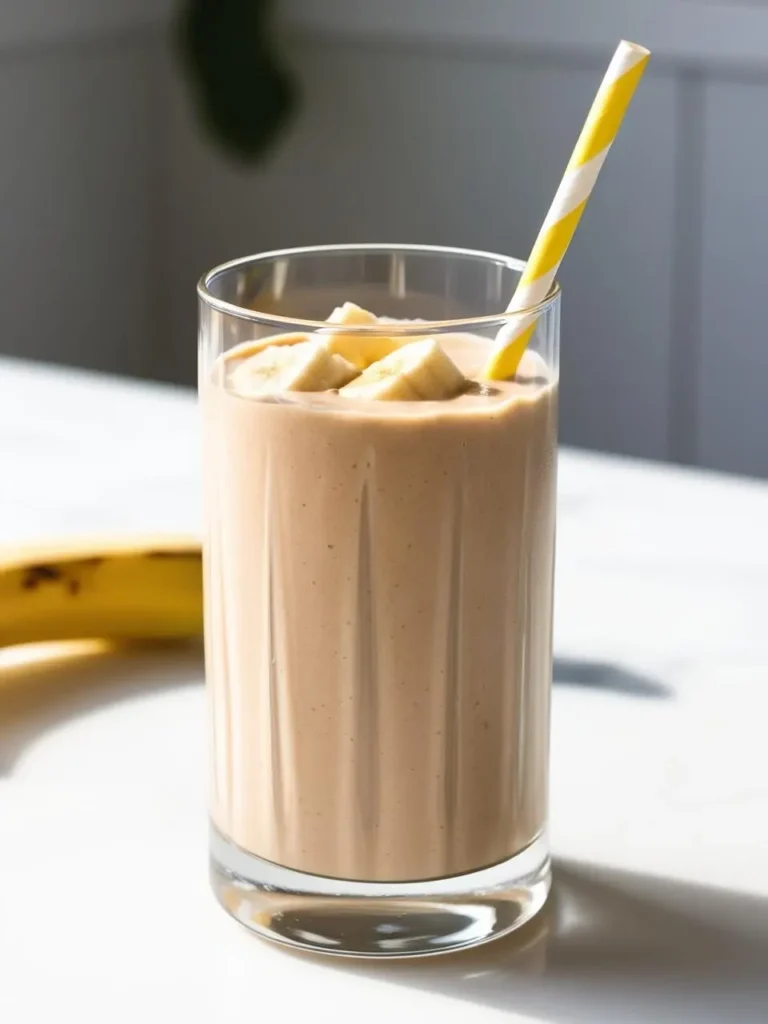
I enjoy making a Peanut Butter Banana Shake because it’s quick and easy. This shake is a delicious blend of creamy peanut butter and ripe bananas. It’s great for breakfast or a snack.
To make this shake, I need just a few simple ingredients. I gather 1 ripe banana, 2 tablespoons of peanut butter, 1 cup of milk (or a dairy-free alternative), and ice cubes.
Here are the steps I follow:
- I peel the banana and slice it into smaller pieces.
- I add the banana, peanut butter, and milk into my immersion blender.
- I toss in a handful of ice cubes for a frosty texture.
- I blend everything together until smooth.
In just a few minutes, my Peanut Butter Banana Shake is ready. It’s a tasty, nutritious drink that keeps me energized.
9. Red Pepper Dip
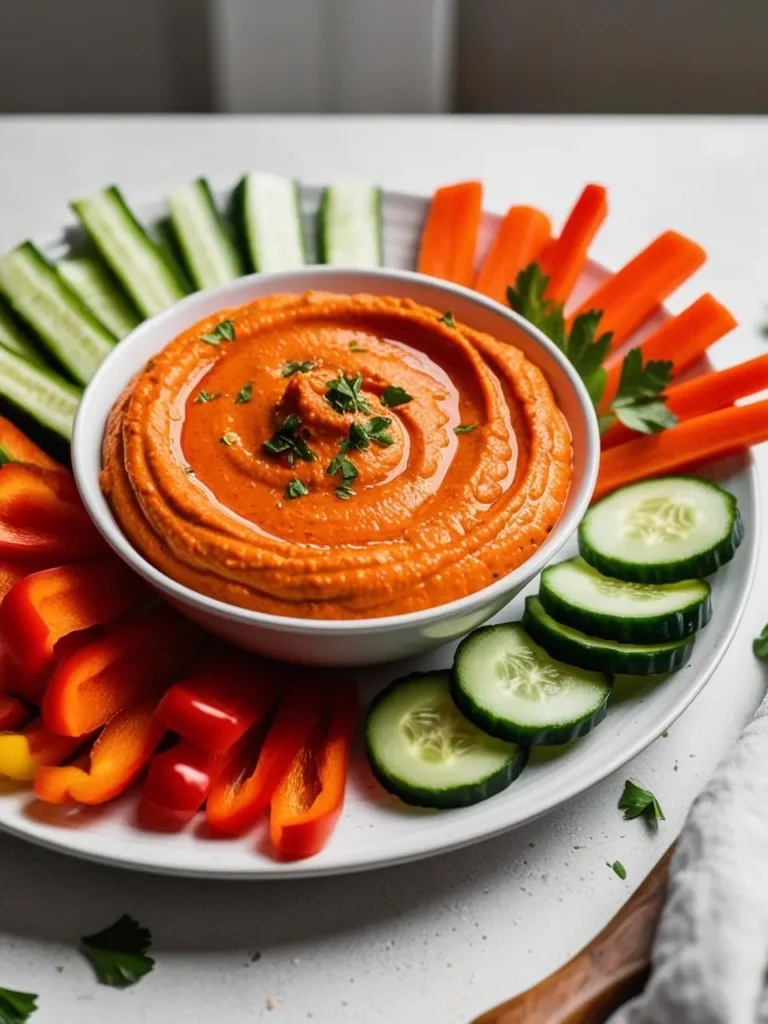
Red pepper dip is a creamy and flavorful spread that I enjoy making. It brings a rich taste to snacks and appetizers. This dip is easy to prepare and can be made in about 15 minutes.
To make red pepper dip, I start with these ingredients: 2 large roasted red bell peppers, 1 cup of cream cheese, 1 tablespoon of garlic, and salt to taste. Roasting the peppers adds depth to the flavor.
Here are the steps I follow:
- First, I roast the red peppers until the skin is charred. This usually takes about 10 minutes under a broiler.
- Next, I let the peppers cool, then remove the skin and seeds.
- In a mixing bowl, I combine the roasted peppers, cream cheese, garlic, and salt.
- I use my immersion blender to mix everything until smooth and creamy.
I often serve this dip with fresh vegetables, crackers, or pita chips. It’s a great addition to any gathering.
What Are The Nutritional Benefits Of Using An Immersion Blender?
Using an immersion blender offers several nutritional benefits that enhance the health value of meals. This handy kitchen tool helps preserve nutrients and makes it easy to create balanced and nutritious recipes. Here are two key advantages I find particularly important.
How Can You Retain Nutrients In Soups When Using An Immersion Blender?
When I prepare soups with an immersion blender, I notice that it helps retain vitamins and minerals. Traditional cooking methods can cause some nutrients to break down or leach into the cooking water.
By blending directly in the pot, I minimize the transfer of nutrients. For example, leafy greens added to soup maintain more of their vitamins when I puree them right in the broth.
Additionally, the quick blending process keeps the heat exposure low. This helps preserve heat-sensitive nutrients like vitamin C and certain B vitamins. I enjoy knowing my soups are both delicious and packed with nutrition.
What Are The Steps For Creating Healthy Smoothies With An Immersion Blender?
Immersion blenders are excellent for making nutritious smoothies. I can quickly blend fresh fruits and vegetables into a smooth consistency.
The ability to include a variety of ingredients makes it easy to boost the nutritional value. For instance, I add spinach for iron or chia seeds for omega-3 fatty acids.
This type of blender breaks down cell walls, releasing nutrients for better absorption in my body. I appreciate that I can whip up a healthy drink in just minutes, making it easy to consume more vitamins and minerals daily.
What Are Some Tips For Perfect Blending With An Immersion Blender?
Achieving the best results with an immersion blender requires attention to detail. The following tips focus on selecting the right blending speed and maintaining a consistent texture for your recipes.
How Do You Choose The Right Blending Speed For Different Recipes?
When using an immersion blender, the speed can significantly impact the blending outcome. I often select a slower speed for denser mixtures, like soups or sauces, as this allows for better control and prevents splashing.
For lighter mixtures, such as smoothies or whipped cream, a faster speed is more effective. This creates a smooth and airy texture. It’s beneficial to start blending at a low speed and gradually increase it.
Additionally, I recommend keeping the blender vertical to avoid uneven blending. This positioning ensures that the blades can reach all parts of the mixture, creating a consistent texture throughout.
What Are The Best Practices For Maintaining A Consistent Texture While Blending?
To achieve a consistent texture, I pay attention to the blending duration. Blending for too long can overcombine ingredients, making them too smooth and losing the desired consistency.
When blending soups or sauces, I often pulse the blender instead of blending continuously. This technique allows me to check the texture frequently.
I also find that moving the blender up and down in the pot encourages even mixing. This method enables me to incorporate all ingredients thoroughly while avoiding any lumps.
Remember, always let the mixture settle a bit. This way, any air bubbles that formed during blending can escape, leading to a smoother final product.
